I have a friend in the Peace Corps right now who is stationed (is that the right word?) in Armenia. Her living arrangements are sparse and most things we take for granted over here aren't as available there. Things like meat, baking powder, and leafy greens. Even heat and refrigerators! In fact, the butchers are currently closed because there was a case of anthrax in a cow. It sure makes me feel lucky to be an American. She asked me to create a simple meal that uses local ingredients and this is the dessert I came up with.
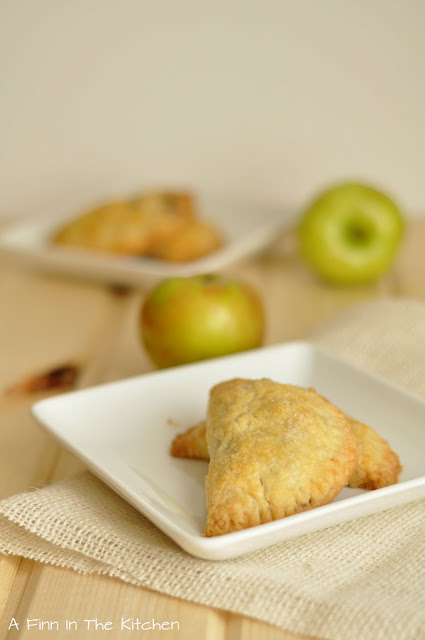
These small servings are easier for a single person, rather than wondering what to do with a whole pie! Plus, we both grew up in the UP of Michigan. Years ago, there were many Cornish immigrants that came over to work in the copper mines. With them, they brought the pasty (pronounced past-ee). They are shaped like this and contain meat, potatoes, rutabaga, and carrots. They're much larger, but can still be eaten out of hands. In fact, that's how I prefer to eat them!
Next week I'll be posting the meal, but let's do dessert first. It's more exciting in my opinion.
If necessary, an additional apple can be used in place of the pear.
I hope you enjoy them, Ev! This was a fun challenge and I can't wait to see how they turn out for you!
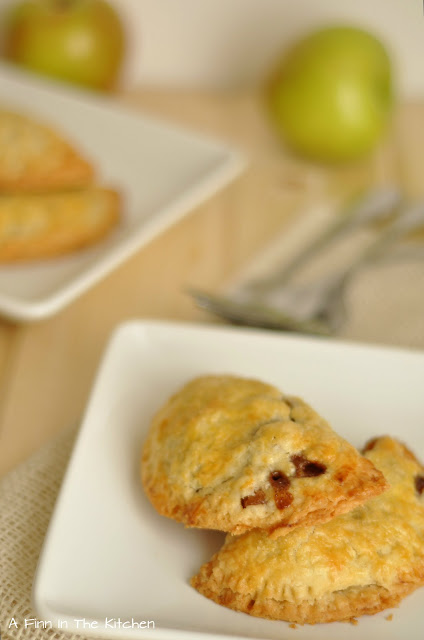
Apple Pear Hand Pies
Makes 8
Crust
Adapted from Dorie's recipe
1 1/2 cups all-purpose flour
1 tablespoon sugar, plus additional for sprinkling
3/4 teaspoons sea salt
1 1/2 sticks (12 tablespoons) unsalted butter, very cold, and cut into small pieces
1/4 cup cold water
1 whole egg, beaten lightly
In a medium bowl, whisk together flour, sugar, and salt. Add the butter and using your fingers, rub the butter and flour between your fingers until there is no more "free" flour or large pieces of solid butter.
Sprinkle 2 tablespoons of water over dough and toss gently with your hands to combine. Dough should come together when pinched. Add additional water as necessary 1 teaspoon at a time, continuing to toss until desired texture is achieved.
Form into disk using your hands and wrap in plastic wrap or wax paper. Refrigerate for 30 minutes.
Filling
2 large apples, cored, peeled, and roughly chopped (I used a Pink Lady and a Honeycrisp)
1 pear, cored, peeled, and roughly chopped (I used D'anjou)
2 tablespoons lemon juice, from half a lemon
2 teaspoons ground cinnamon
1/2 cup sugar
2 tablespoons unsalted butter
While crust is resting, combine apples, pear, lemon juice, cinnamon, and sugar in a medium bowl until fruit is evenly coated.
In a medium saucepan over medium heat, melt butter, swirling pan and scraping sides of pan with rubber spatula occasionally. Once small brown flecks form in the butter and it gives off a caramel smell, (about 5 minutes) remove from heat and pour into a small heat-proof bowl.
In the same saucepan, heat fruit until sauce bubbles and decrease heat to low. Cover and simmer about 10 minutes. Remove cover and stir occasionally until sauce thickens. Remove from heat and stir in browned butter.
Preheat oven to 375 degrees F.
Roll out crust on a clean, lightly floured surface into a 14-inch circle. Using a 4 1/2-inch round cookie cutter, cut out 8 circles. You may need to re-roll the scraps in order to get 8.
Set dough rounds on a baking sheet and drop about 1 tablespoon of fruit just off center on the dough. Fold the dough into half moons and press the edges together with your fingers to seal.You may need to slightly flatten the pie with your palm. Brush with the beaten egg and sprinkle with a small amount of sugar.
Bake for 18 to 20 minutes or until crust is lightly browned.
Cool for 20 minutes at room temperature before serving.


I'm sharing this at Happy Hour, Or So She Says, Something Swanky, Crazy for Crust, and One Project Closer.